
5-minute path
Create account → Create app → Copy test keys → Install from pub.dev → Run CLI → Test-key verify → Switch to live keys → Production ready.
Step 1 - Create account
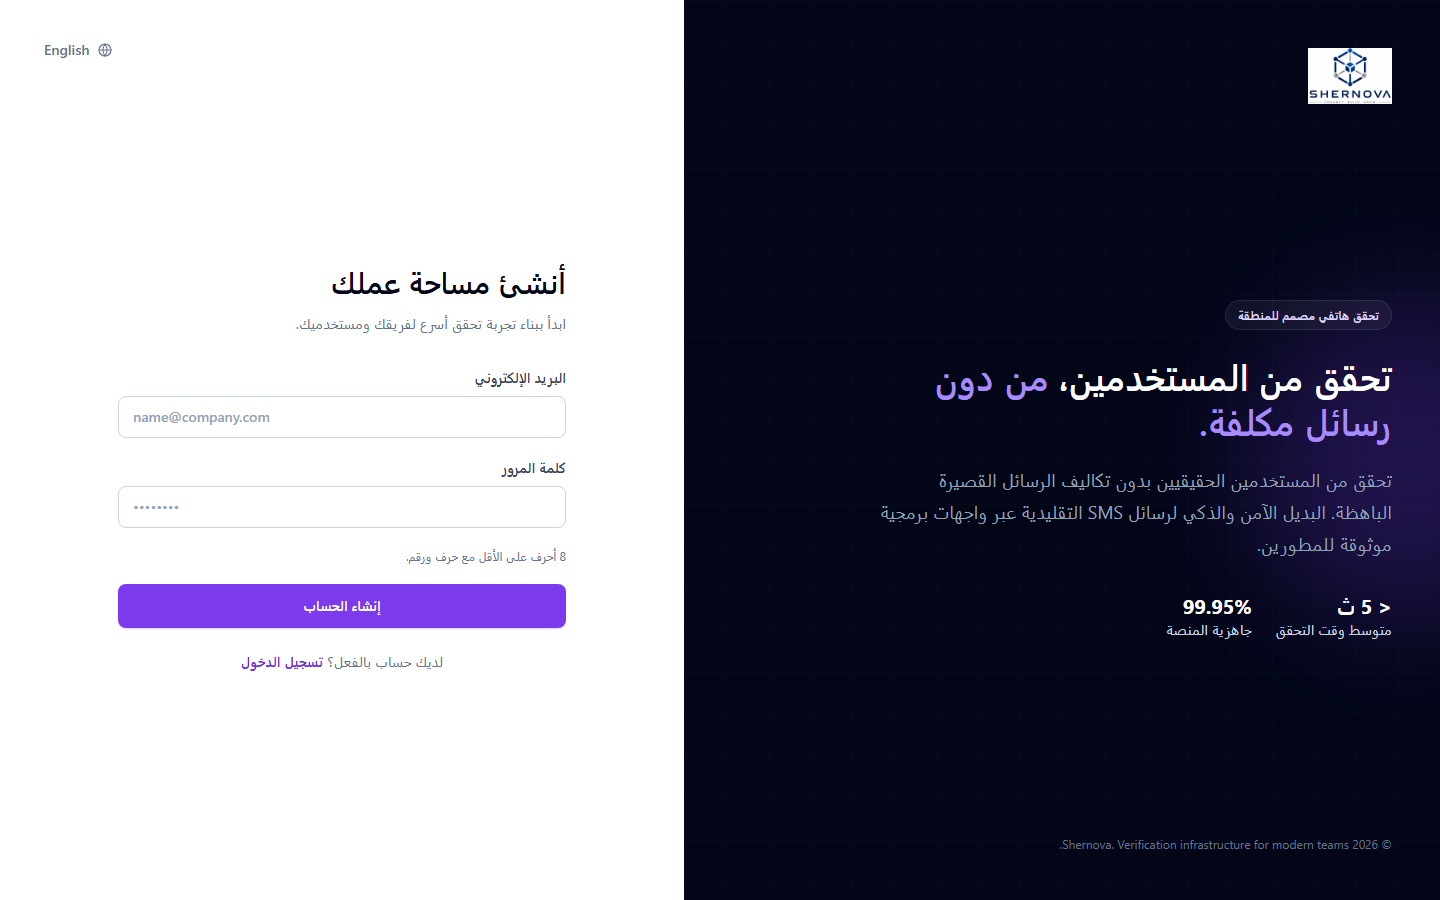
Register at Shernova, verify your email, then sign in to the Dashboard.
Step 2 - Create application
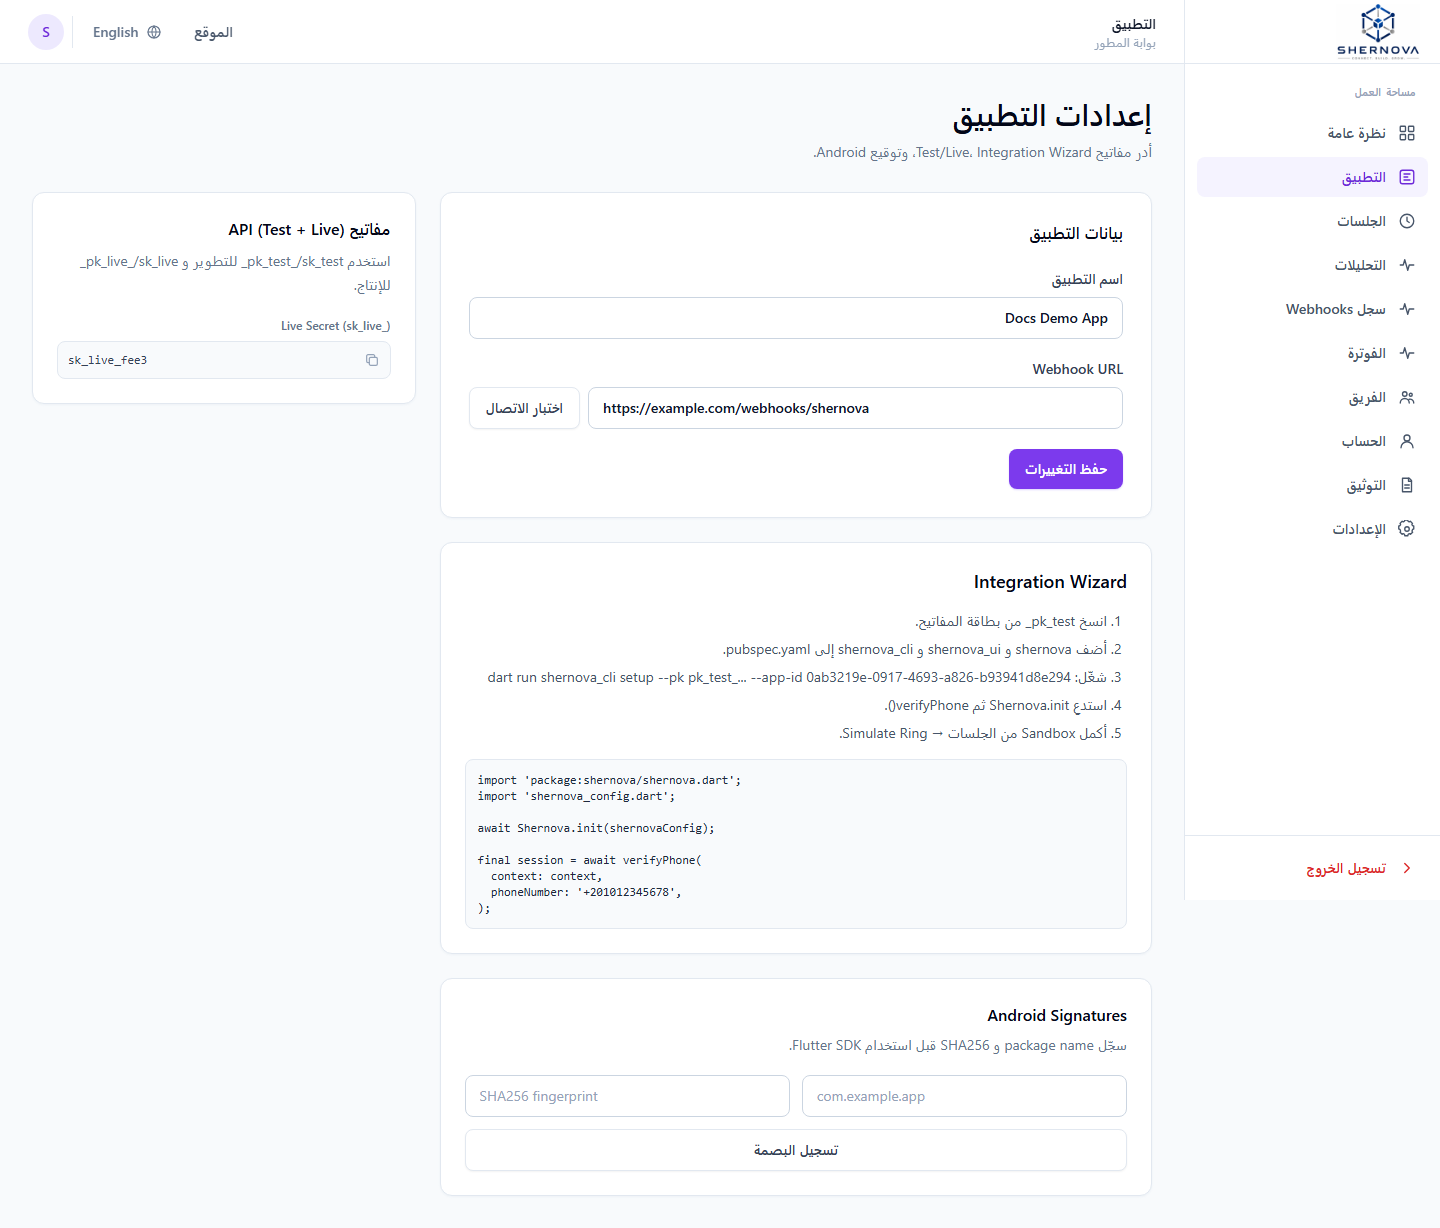
Dashboard → Applications → + New application (if this is your first app, the create form may open automatically). Enter an application name. Webhook URL is optional - skip it for now and add HTTPS webhook in the Settings tab later (Step 8 for production). Click Create application.
After creation, use the Get started tab (Integration Wizard) and copy keys from API keys. The screenshot below shows an existing app - Save changes appears when editing settings, not on first create.
Step 3 - Copy test keys
Copy pk_test_ and sk_test_ from the credentials card. Use test keys for all development - never ship them in production builds.
| Key | Prefix | Use |
|---|---|---|
| Test publishable | pk_test_… | Flutter SDK + shernova_cli setup |
| Test secret | sk_test_… | Test server API (real gateways, consumes credits) |
| Live publishable | pk_live_… | Production mobile (Step 7) |
| Live secret | sk_live_… | Production backend only (Step 7) |
Step 4 - Install core SDK from pub.dev
Use shernova_core - not shernova
The legacy shernova package (1.x) is deprecated. Always install shernova_core (^2.0.0). shernova_ui is optional.
dart pub add shernova_core:^2.0.0
dart pub add --dev shernova_cli:^2.0.0
Required: shernova_core. Optional ready-made UI: shernova_ui - add with dart pub add shernova_ui:^2.0.0 or CLI flag --with-ui.
Step 5 - Run shernova_cli setup
dart run shernova_cli setup --pk pk_test_YOUR_KEY --app-id YOUR_APP_UUID
# Optional UI: add --with-ui
Register the printed package name + SHA256 on Dashboard → Application → Android Signatures (or via API).
Step 6 - Run test-key verification
Headless (core only):
import 'package:shernova_core/shernova_core.dart';
import 'shernova_config.dart';

await Shernova.init(shernovaConfig);

final session = await Shernova.verify(phoneNumber: '+201012345678');

await for (final update in Shernova.watch(session.sessionId)) {
  if (update.status == 'verified') {
    final receipt = await Shernova.getReceipt(session.sessionId);
    break;
  }
}
Optional UI (shernova_ui):
import 'package:shernova_core/shernova_core.dart';
import 'package:shernova_ui/shernova_ui.dart';
import 'shernova_config.dart';

await Shernova.init(shernovaConfig);

final session = await verifyPhone(
  context: context,
  phoneNumber: '+201012345678',
);
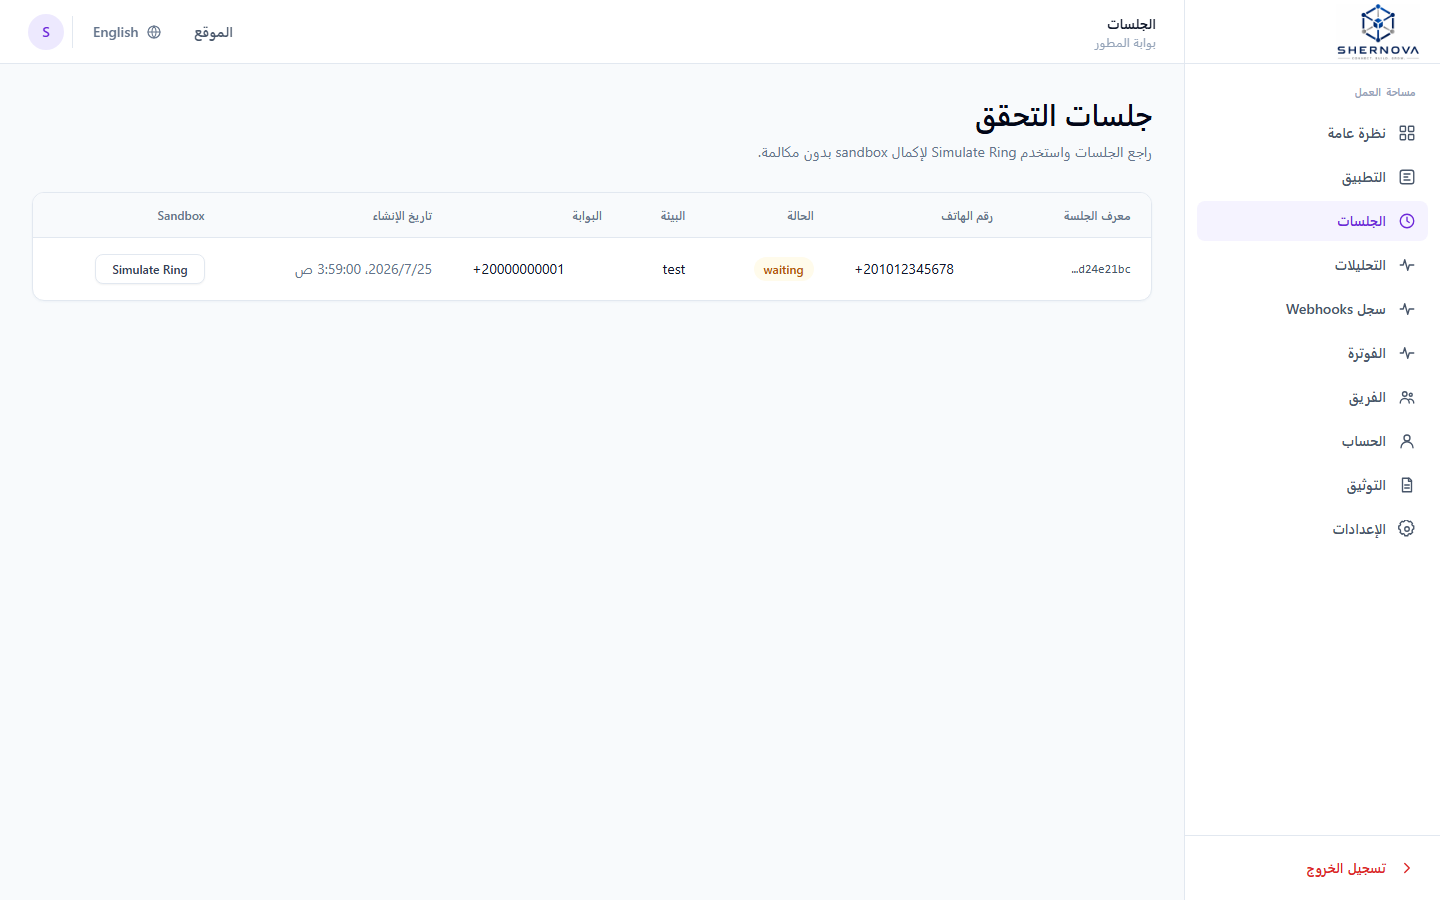
Complete the session with a real missed call - in order: (1) Run verification from your app with pk_test_ or Dashboard → Sessions → Create test session. (2) Call the gateway_phone_number returned by the API from the same phone the user entered. Test keys use real gateways and consume credits.
Step 7 - Switch to live keys
- Replace
pk_test_withpk_live_inshernova_config.dart(or re-run CLI with--pk pk_live_…). - Use
sk_live_on your backend for REST and receipt verification. - Register release SHA256 on Dashboard if different from debug.
- Real users call the gateway number returned by the API - same flow for test and live keys.
Step 8 - Production ready
- Set HTTPS Webhook URL and verify delivery in Webhook logs.
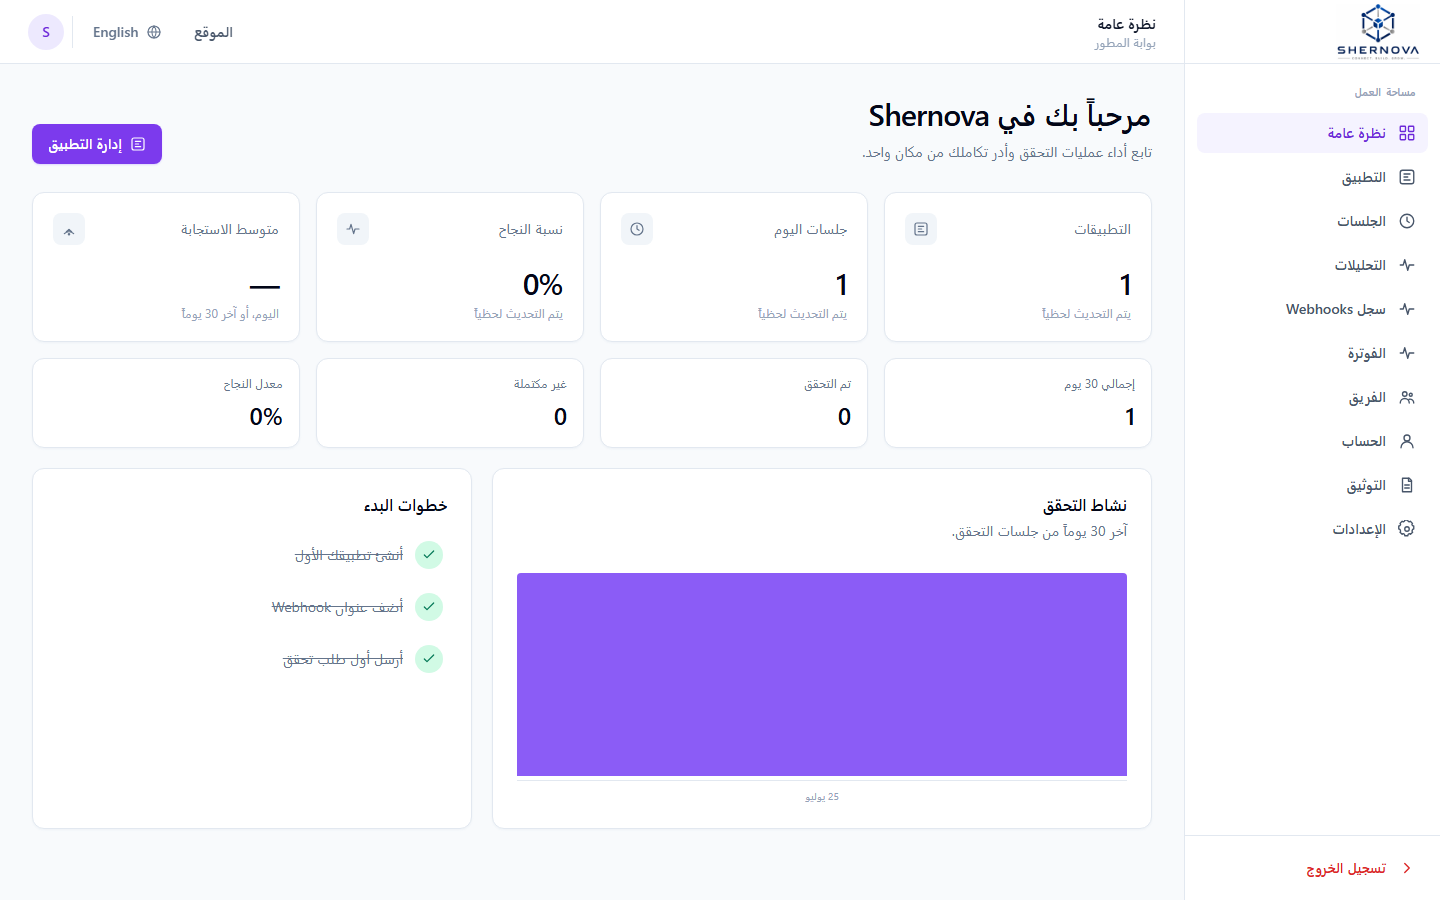
- Monitor org credits on Billing. After trial, subscribe to a plan or top up credits there.
- Verify receipt JWT server-side:
POST /v1/receipts/verifywithsk_live_. - Handle errors using SH_xxx codes.
- Android apps using shernova_ui: complete Google Play declarations before release.
- iOS apps: read iOS verification guide - manual return after call is expected.
Learn more
- Flutter SDK - headless mode, auto-return, receipts
- Google Play publishing - declarations & review tips
- iOS verification - App Store expectations
- REST API - idempotency, receipts, sandbox
- Webhooks - signed verification.completed events
- Best practices - security and reliability